Your cart is currently empty!
How to Transfer an Image to Wood Using a Laser Jet Printer, Acetone, and a Scraper: A Step-by-Step Guide
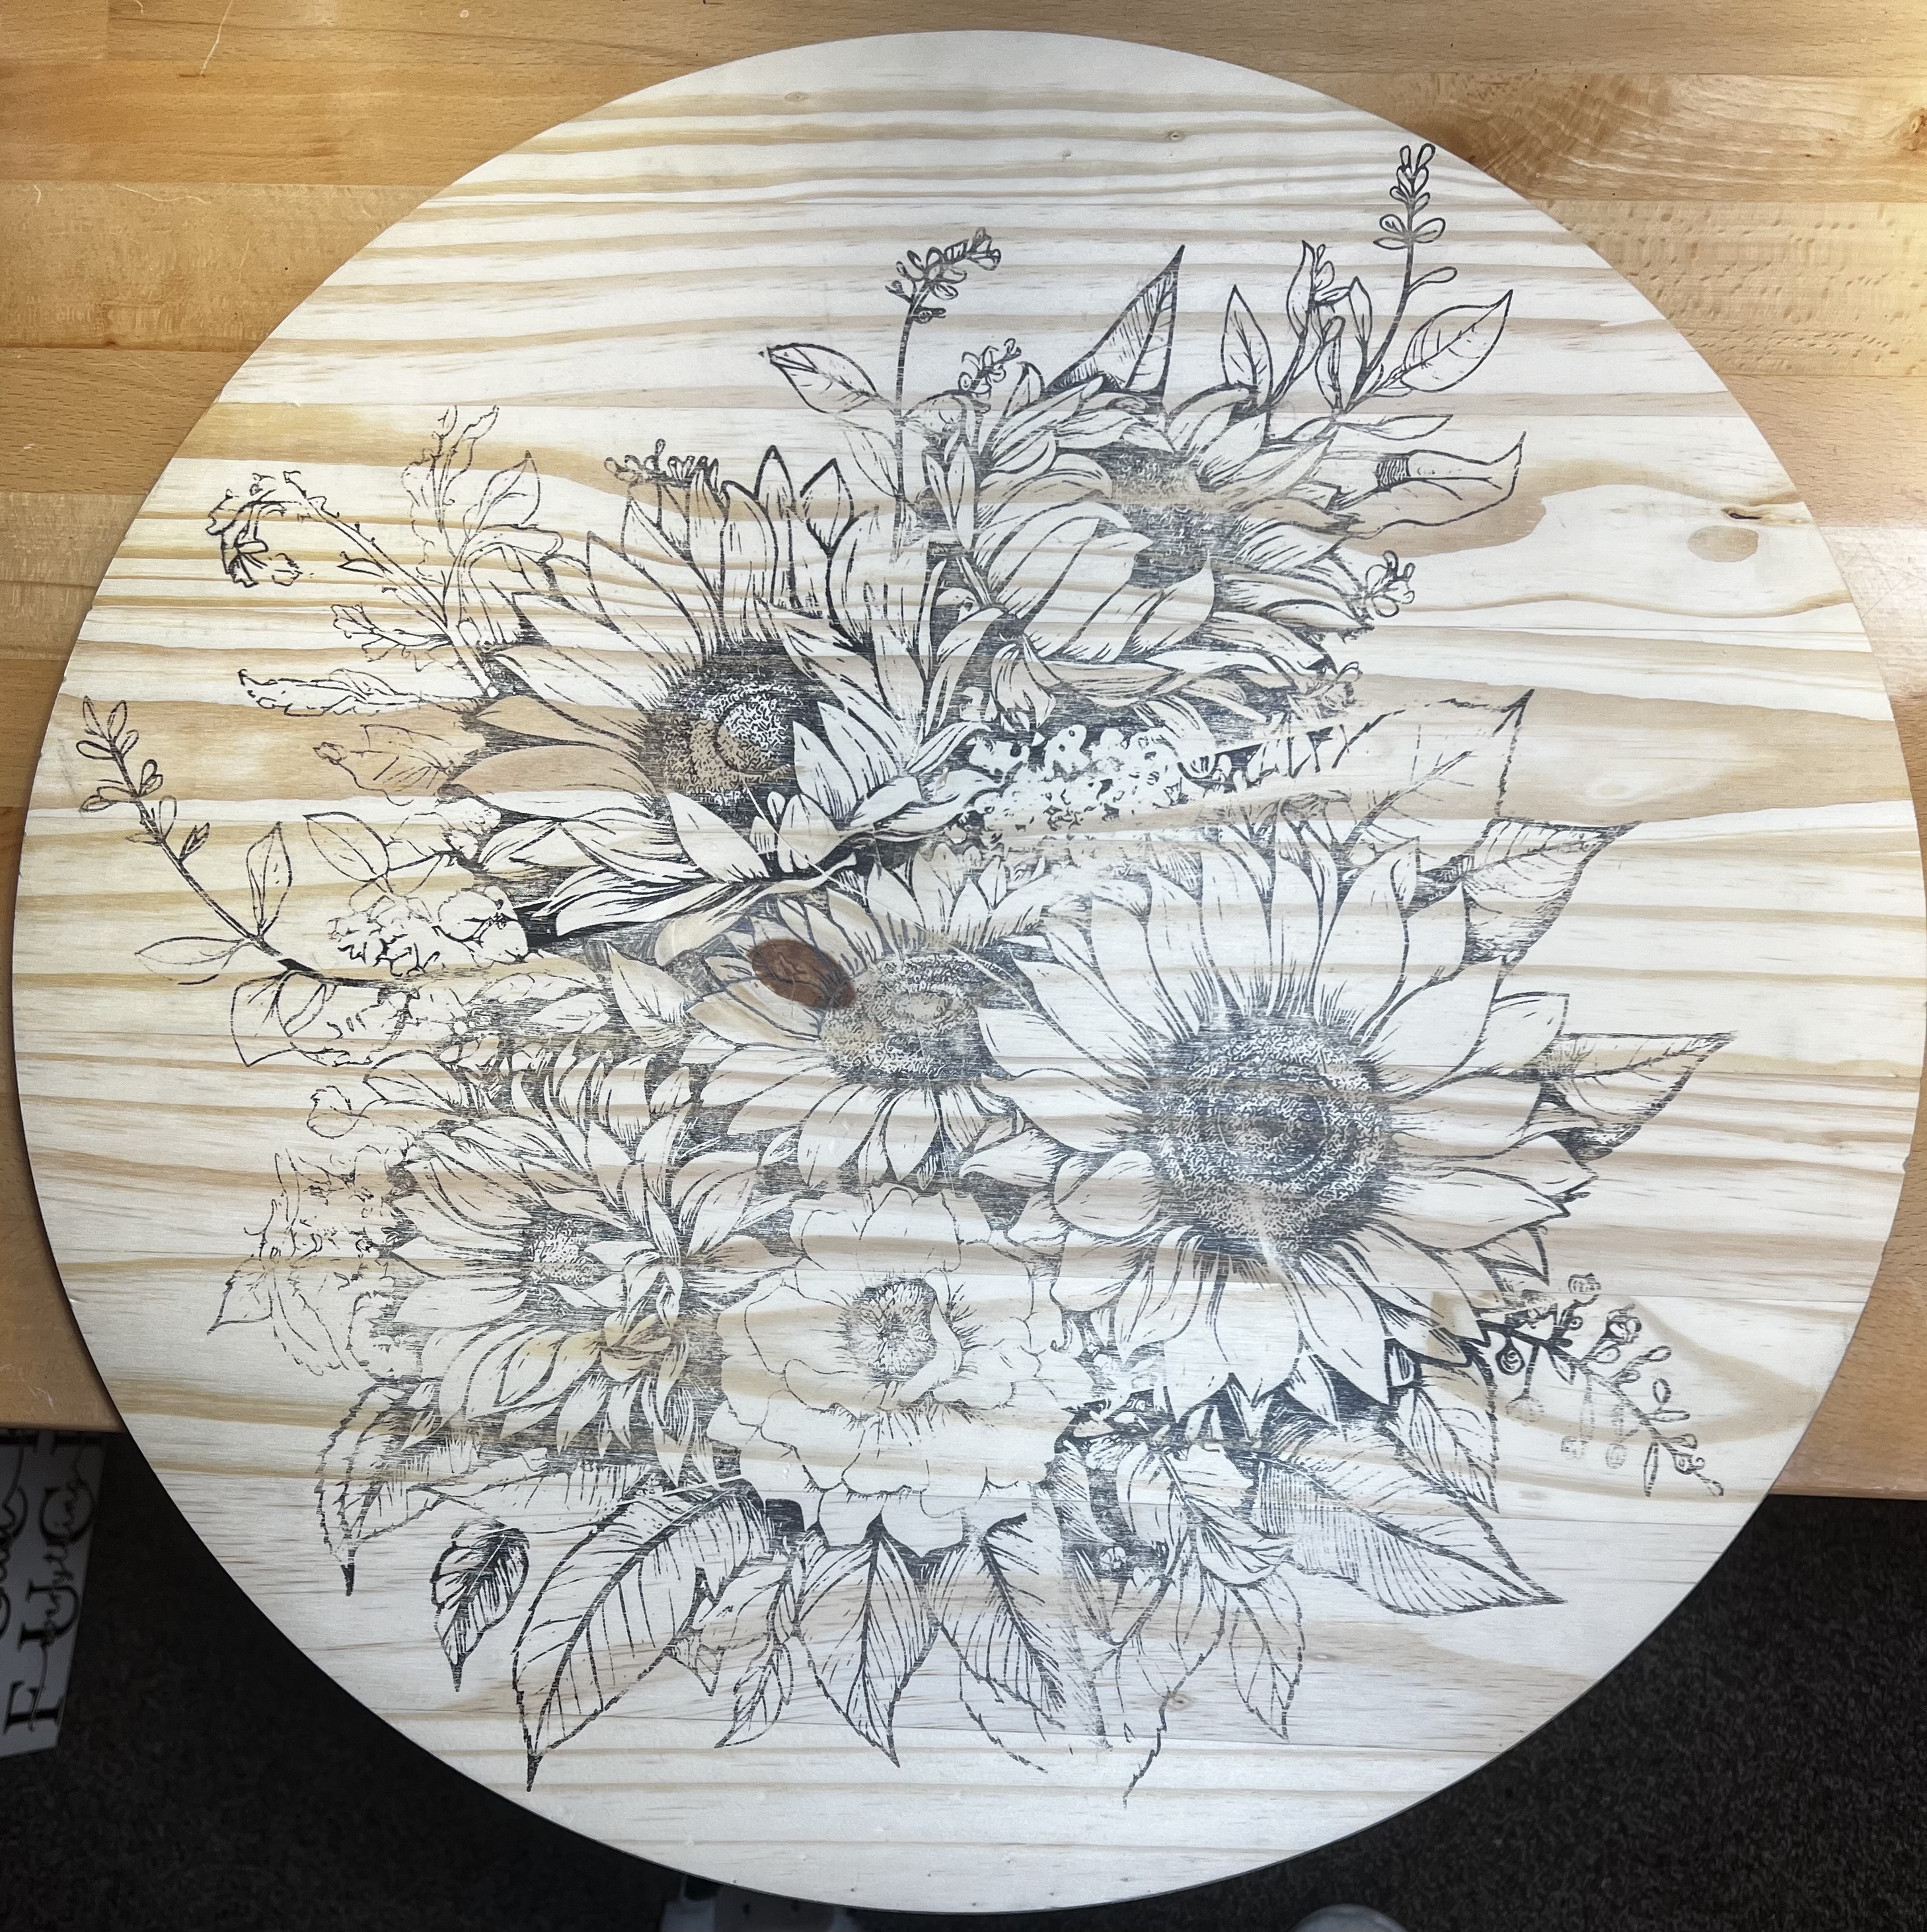
Transferring an image to wood can be an easy way to get your design on your wood burning project. Whether you’re a DIY enthusiast or a professional craftsman, this tutorial will guide you through the process of transferring an image to wood using a laser jet printer, acetone, and a scraper. The design can be achieved with just a few materials and a bit of patience.
Materials Needed:
- Wood: Choose a piece of unfinished wood that is smooth and clean.
- Laser Jet Printer: Ensure your design is printed on regular paper using a laser jet printer.
- Acetone: Commonly found in nail polish remover.
- Scraper: A flat scraper.
- Tape: Masking or painter’s tape to secure the image.
- Soft Cloth: To apply the acetone.
Step-by-Step Guide:
Step 1: Prepare Your Image
- Select Your Image: Choose a black and white image for the best results. (You can take any image and change it to black and white or a coloring page) If the image contains text, remember to flip it horizontally (mirror image) before printing.
- Print Your Image: Use a laser jet printer to print the image on regular paper. Inkjet prints will not work for this method.
Step 2: Prepare the Wood Surface
- Smooth the Surface: Sand the wood if necessary to ensure it is smooth and free of dust and debris. A smooth surface will help the image transfer more clearly.
Step 3: Position the Image
- Place the Image: Position the printed image face down on the wood. Use tape to secure the edges of the paper so it doesn’t move during the transfer process.
Step 4: Apply Acetone
- Dampen the Cloth: Pour a small amount of acetone onto a soft cloth. The cloth should be damp, not soaking wet. The ink will run if the cloth is too wet.
- Rub the Back of the Paper: Gently rub the acetone-dampened cloth over the back of the paper. Be sure to cover the entire area of the image (you can work in small sections if it is a large design). You will see the image becoming visible through the paper as the acetone soaks in.
Step 5: Transfer the Image
- Use the Scraper: After applying the acetone, use a scraper to firmly rub the back of the paper. This will help transfer the toner from the paper to the wood. Apply even pressure and make sure to cover the entire image area.
Step 6: Remove the Paper
- Peel Off the Paper: Carefully lift a corner of the paper to check if the image has transferred. If not, reapply acetone and use the scraper again. Once the image has fully transferred, gently peel off the paper.

Step 7: Finishing Touches
- Let it Dry: Allow the wood to dry completely.
- Woodburn: You are now ready to wood burn your design.
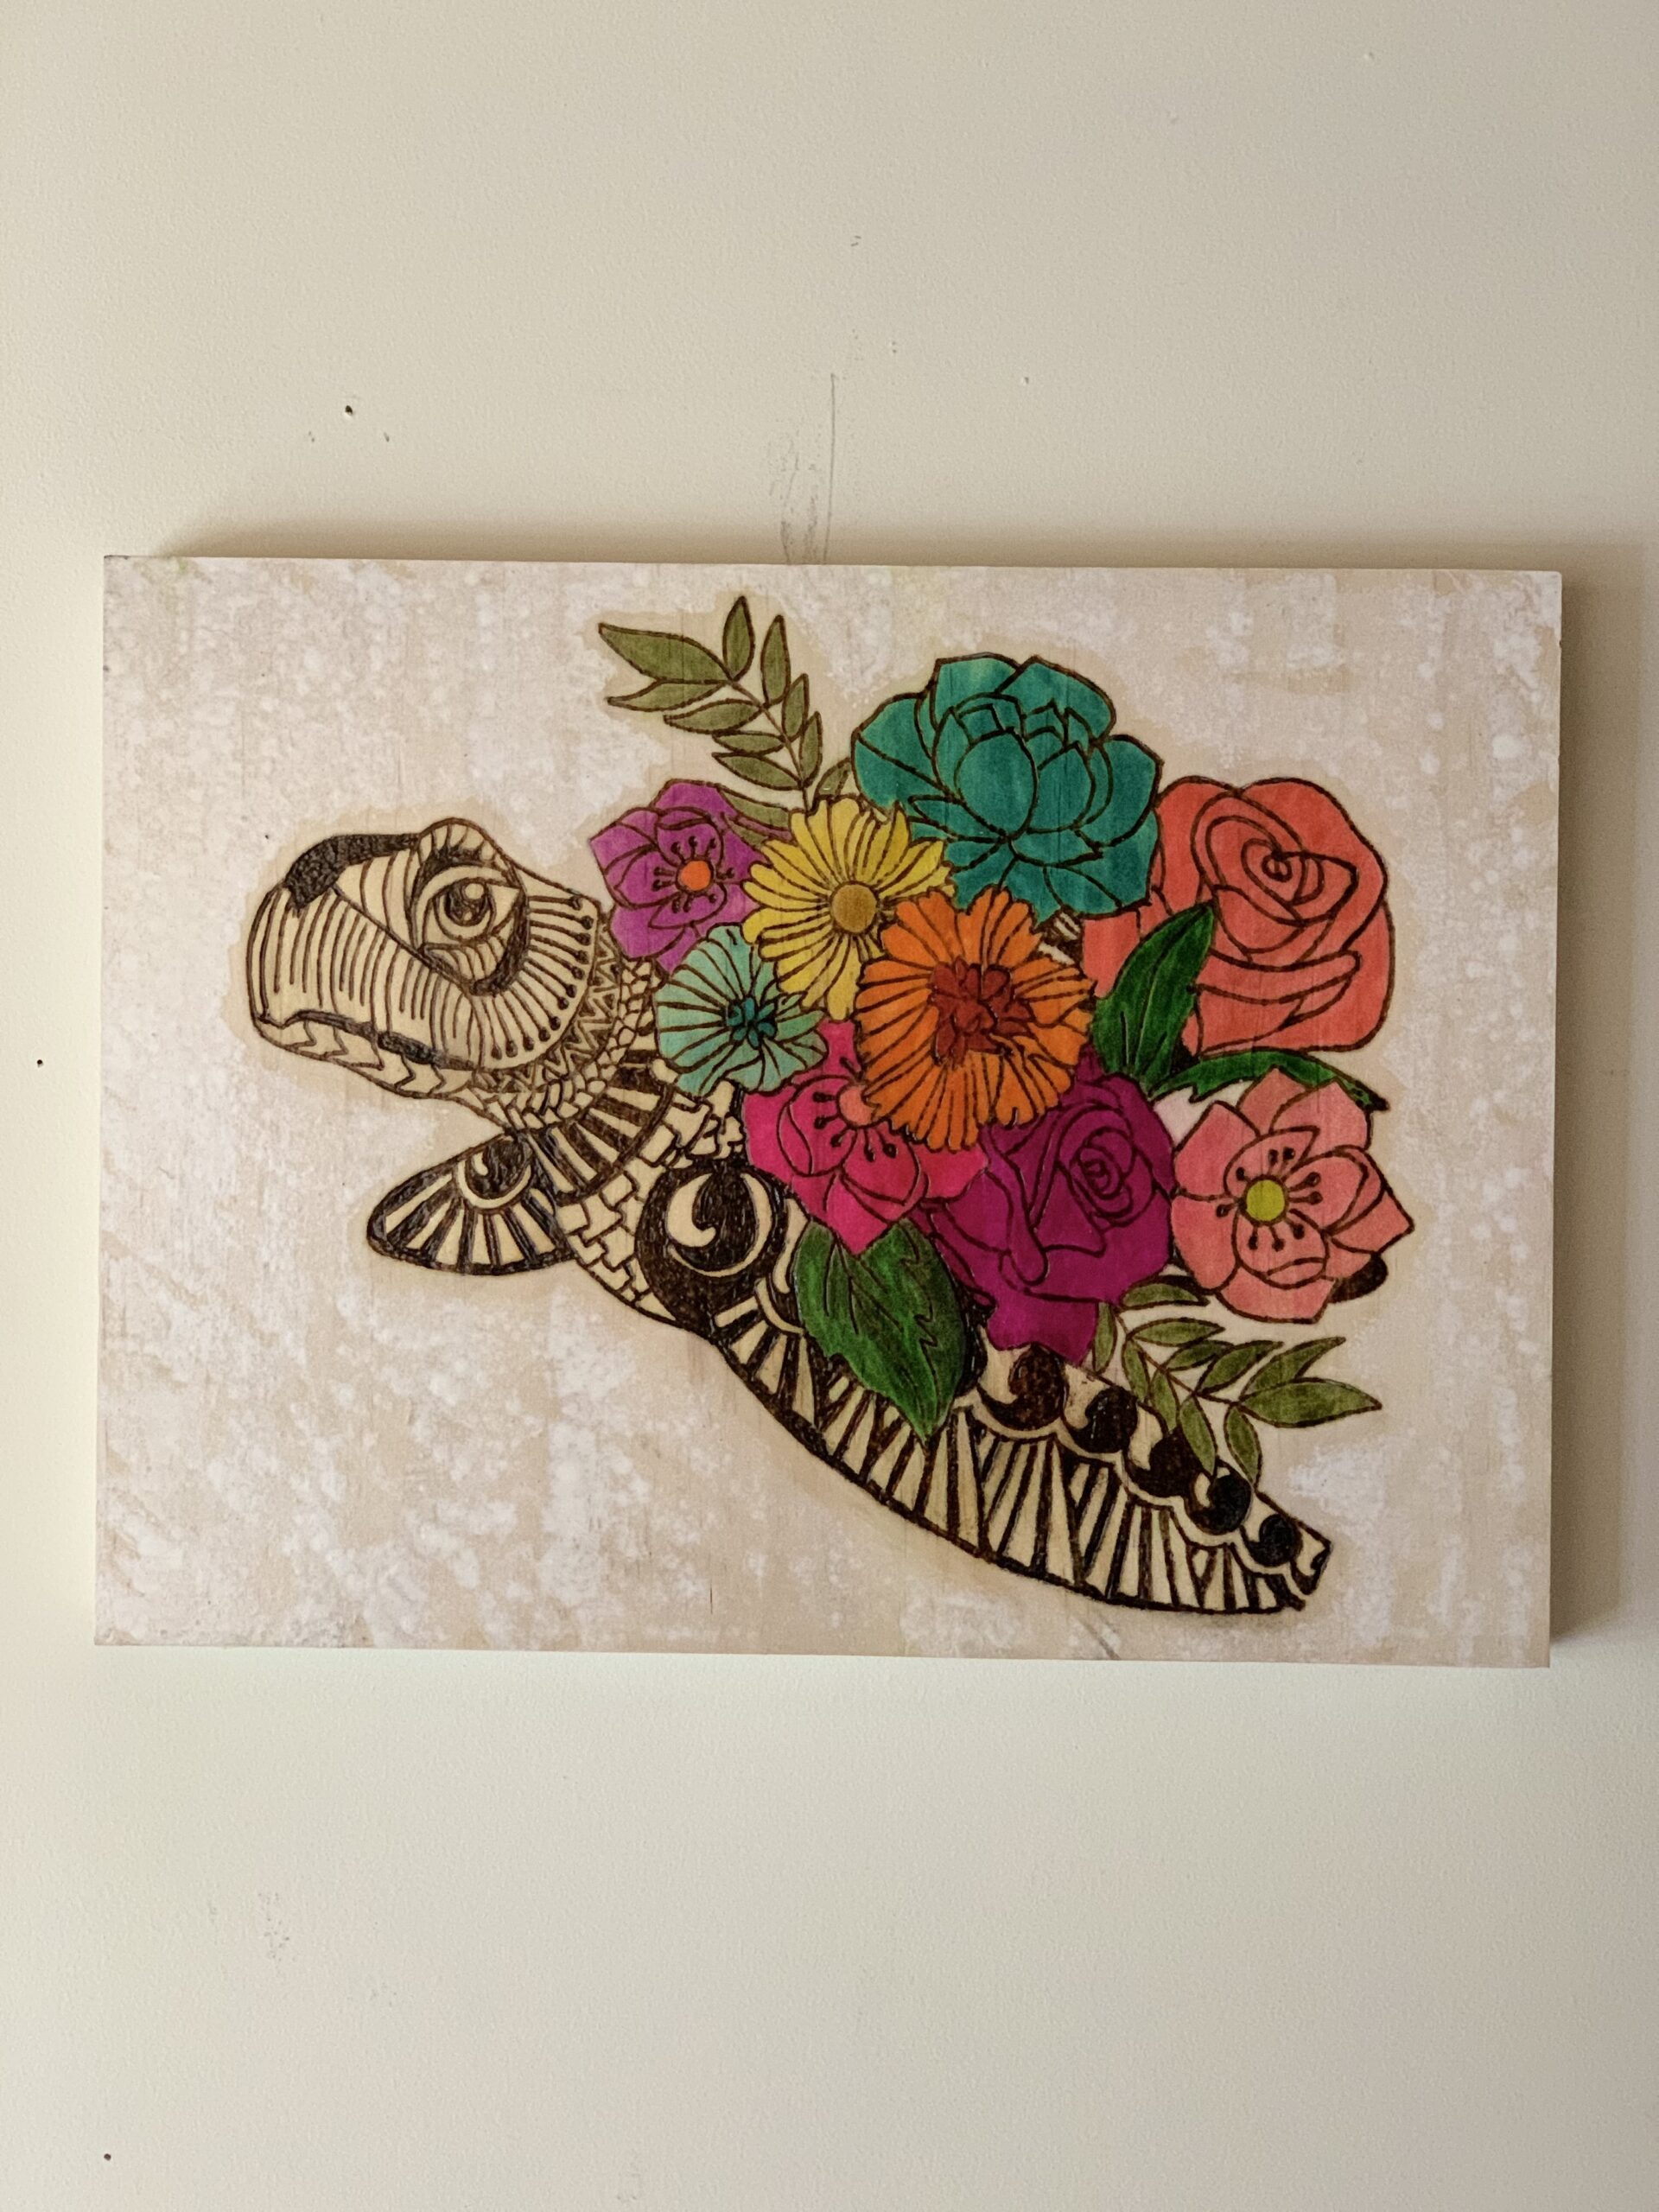
- Stain or Paint: Now that you are done burning, you can choose to stain or add color to your project. (NEVER burn wood that is already stained or painted)
- Seal your Project: To protect your project, apply a clear wood finish or sealant. This will not only enhance your project, but also protect it.
Tips and Tricks:
- Test on Scrap Wood: If you’re new to this technique, practice on a scrap piece of wood first.
- Work in a Well-Ventilated Area: Acetone and stain fumes can be strong, so make sure you’re working in a well-ventilated area.
- Be Patient: The process may take a few tries to perfect, but the results are worth it.
Transferring an image to wood using a laser jet printer, acetone, and a scraper is a simple yet effective way to personalize your woodworking projects. With a bit of practice, you’ll be able to create beautiful and unique pieces that showcase your favorite designs.
Happy crafting! If you try this technique, feel free to share your results and any tips you discover along the way.

Search
Popular Posts
Come Hang Out with Us: A Cozy Corner for Sassy Creators!
Hey, friends! I’m beyond excited to announce the launch of our brand-new Facebook group, a place that’s been on my heart for a while. If you’ve been looking for a supportive, down-to-earth community where you can just be you, I’d love to invite you to join us! This group is all about connecting, sharing, laughing…
Finding Strength: How Faith and family Helped Me During My Cancer Journey
Hey there, friends. I want to take a moment to share something deeply personal with you—something that has shaped who I am today in ways I never could have imagined. My journey with cancer began in January 2017, and let me tell you, it’s been a rollercoaster ride full of ups, downs, twists, and turns…
Welcome to the Heart of Crafting: My Creative Journey & the Magic of Handmade
Hi there, fellow creatives and curious souls! I’m thrilled that you’ve found your way to my little corner of the internet. Whether you’re a seasoned crafter, someone who loves handmade items, or just here for a good read, you’re in for a treat. Today, I’m taking you on a journey through the heart of my…


